


Sometimes, a craft can be a great way to relax . . . something you can do all by yourself.
But other times, a craft can be a great way to connect with your kids!
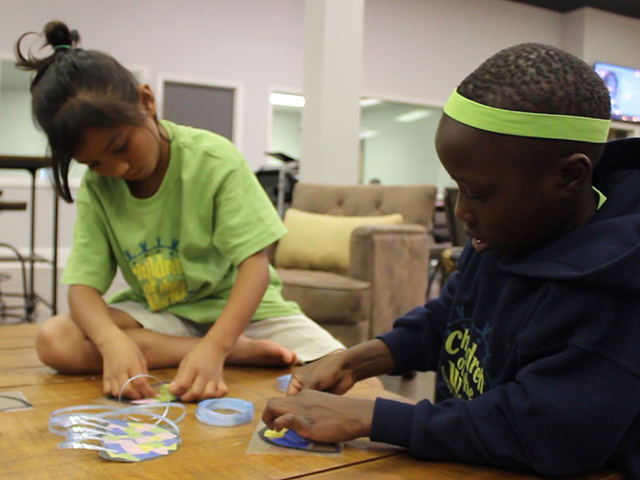
I’m often posting crafts to World Help’s Pinterest board and suggesting that sponsors do these crafts with their children so they, too, can be a part of the sponsorship experience. Today, I decided to take my own advice and try making this jellyfish suncatcher craft from I heart arts n crafts with a few young helpers of my own–three of the Children of the World International Children’s Choir members.
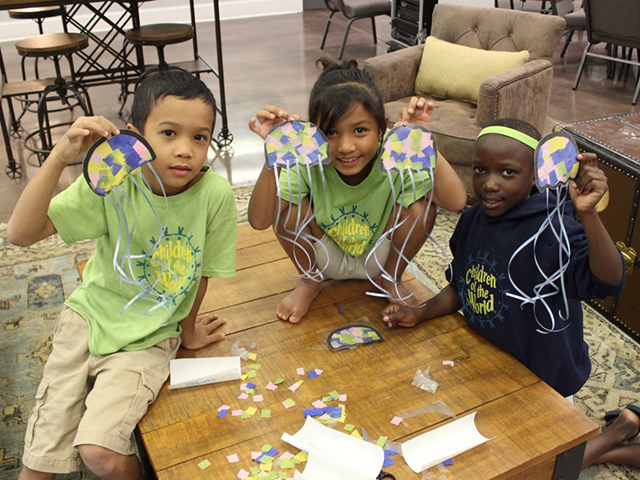
I enlisted the help of Dwayne, Ayusha, and Praise, and we had a blast with this unique craft. Dwayne knew right away that we were creating a jellyfish, but none of the children had ever seen one in real life. We had some fun conversations about jellyfish, and they were all smiles when they saw their completed masterpiece.
Do you want to try this kid-friendly craft yourself? Here’s what you’ll need:
- Tissue paper in several different colors
- Black construction paper
- Contact paper
- Ribbon
- Scissors
Before you start making the suncatcher, you’ll need to prepare your materials. The construction paper should be cut into jellyfish shapes.
First, I recommend drawing the shape with a pencil–it helps a lot. Next, you need to cut out the middle. I’ve found that the easiest way to get started is to gently fold the paper in half and make a cut about a quarter inch from the edge of the paper.
You’ll also need to cut or tear your tissue paper into little squares, and cut your ribbon into sections. Your paper and ribbon pieces can be as large or as small as you’d like–it’s all based on your preferences!
Now, cut squares out of contact paper, big enough to fit your construction paper jellyfish, and lay the jellyfish shape on top.
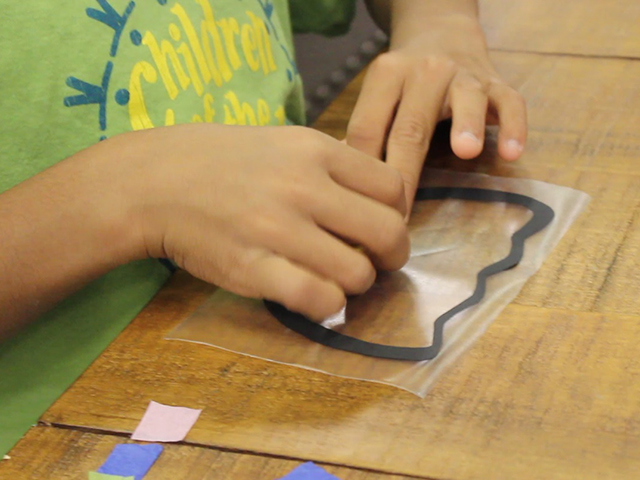
This part is where my helpers had the most fun. Take your pieces of tissue paper and stick them inside the construction paper shape. Overlapping is fine, even encouraged, but try not to leave too many empty spaces.
Next, add your ribbons to the bottom! You can also choose to do this step last and simply tape the ribbons to the back. This makes the back a little messier, but it means you have to do less cutting later on.
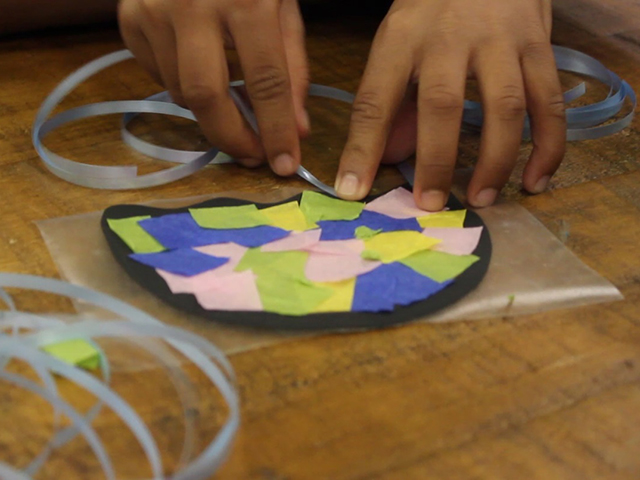
Once you’re ready, add another piece of contact paper, sticky side down, on top of your craft. This effectively laminates the project and keeps all the loose pieces of tissue paper sealed in place. Your jellyfish will look pretty odd with all the clear contact paper around it, so use a scissors to trim the extra.
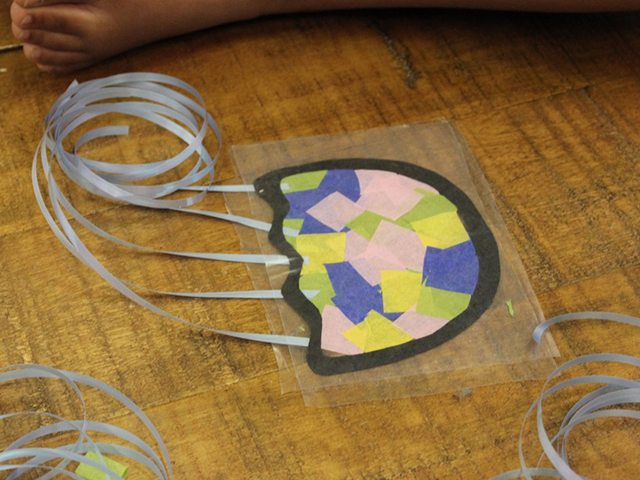
And you’re done! Aren’t these jellyfish so pretty? There’s almost no way to mess them up, which makes them perfect for little hands. My helpers loved playing with them, holding them up to the light, and making them “swim” across the room.
A craft like this is perfect gift for a sponsored child because it’s easy to ship and doesn’t break . . . and it’s also a great way to involve your own children in the process. And because you took the time to make it yourself, it’s an opportunity to make your sponsored child smile and show them that you’re thinking about them.
And since my three special helpers thought these were great fun to play with . . . your sponsored child will too!
If you do decide to make this craft, or any other craft for your sponsored child, show us on Facebook using #sponsorscreate.
Crafts with the Children of the World from World Help
Ready to send your letter now? Address your envelope to:
[Sponsored Child’s name and ID #]
c/o World Help Child Sponsorship Program
P.O. Box 501
Forest, VA 24551